Google Photos storage configuration
Follow these steps to configure Google Photos storage in WP Manga Storage > Google Photos
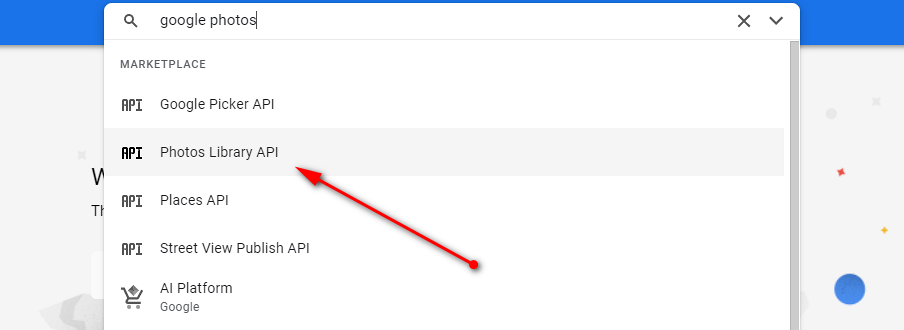
- Go to https://console.cloud.google.com/ and search for Photos Library API
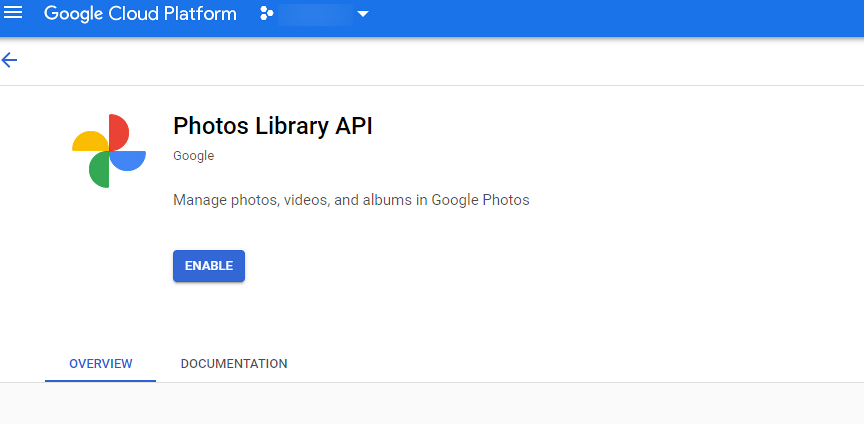
- Enable Photos Library API
- Add OAuth Client ID
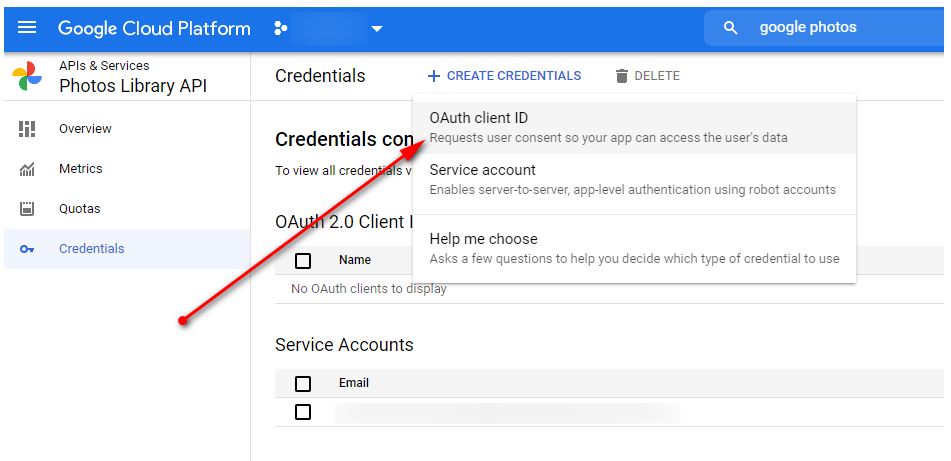
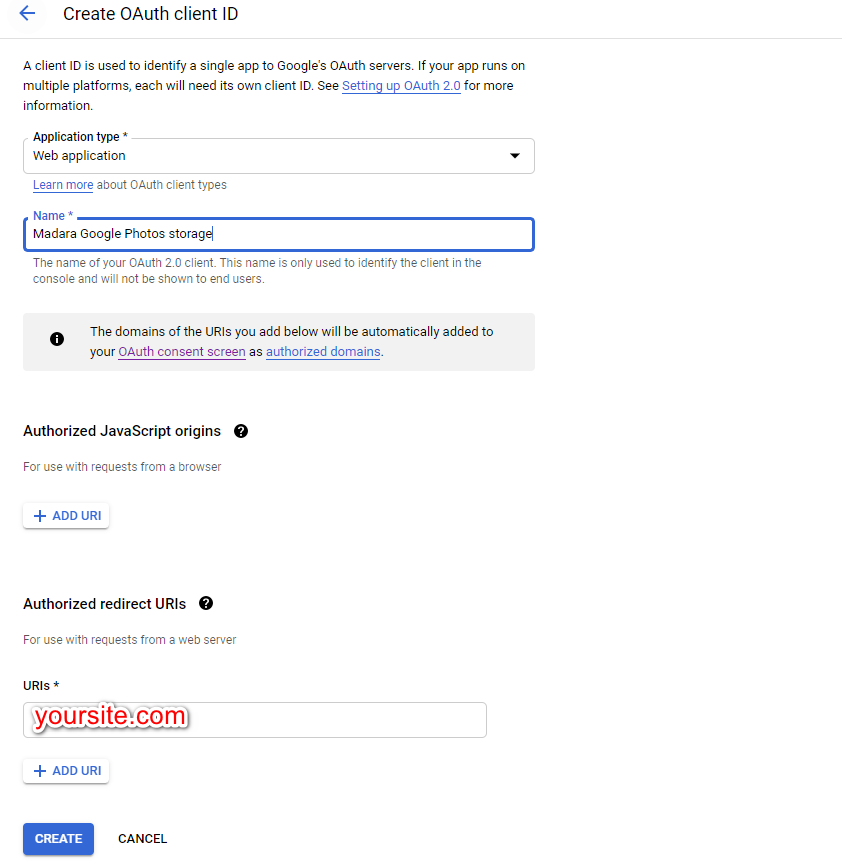
- Configure Oauth Client ID. Put your site domain in Authorized Redirect URIs
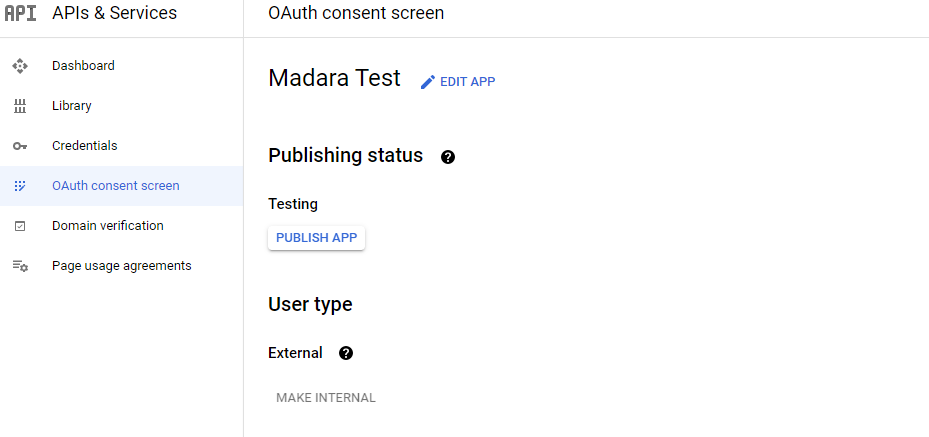
- After creating OAuthen Client ID, go to Oauth consent screen, you do not need to Publish app as you are the only one who uses this app
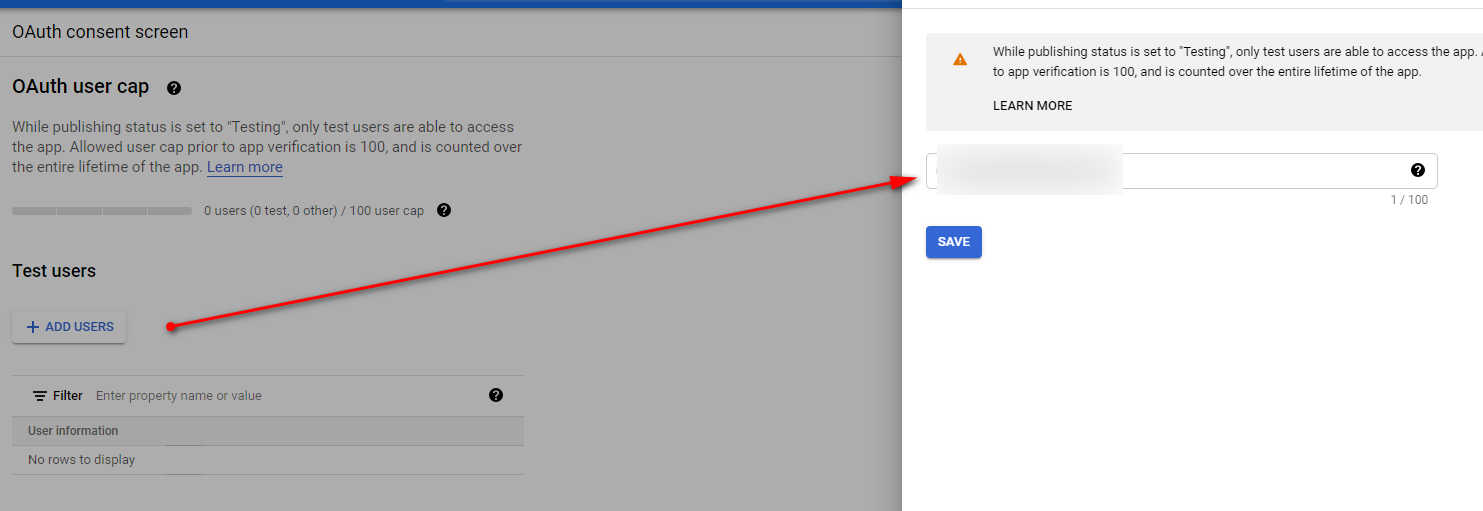
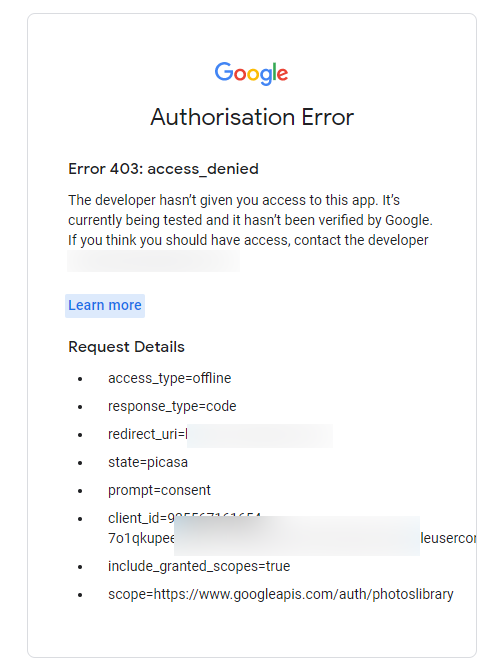
- Instead, add a test user with the same email that you want to authorize
- After that, get the Client ID and Client Secret in Credentials page

- Paste that information in WP Manga Storage > Google Photos section in your site. Make sure the Redirect URL is the same with the Authorized Redirect URIs you configured above. Click “Authorize” to start authorize your site
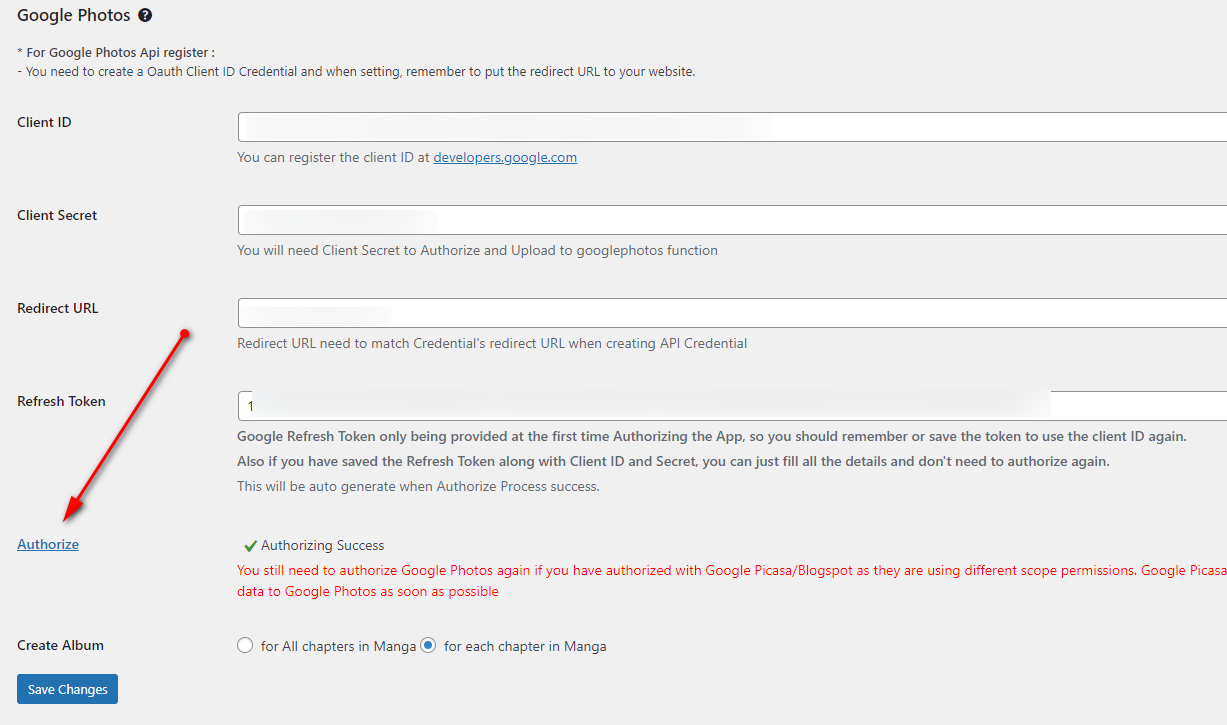
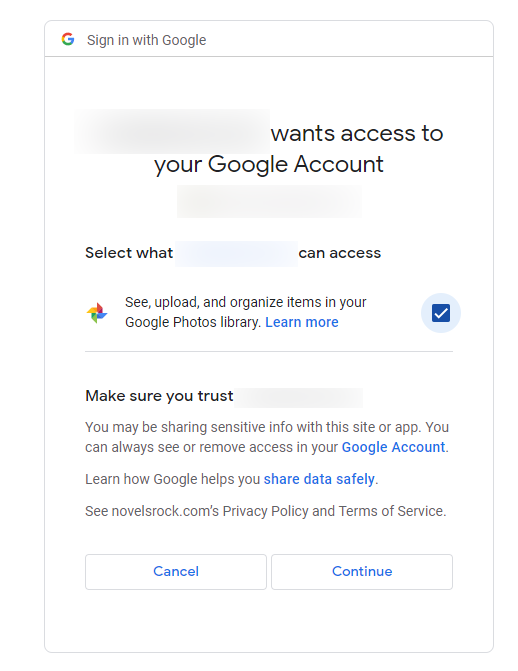
- If everything is correct, you can just click next to authorize the site
- If you see this error, it means that you are not added to the Test User yet. Please refer to step 6
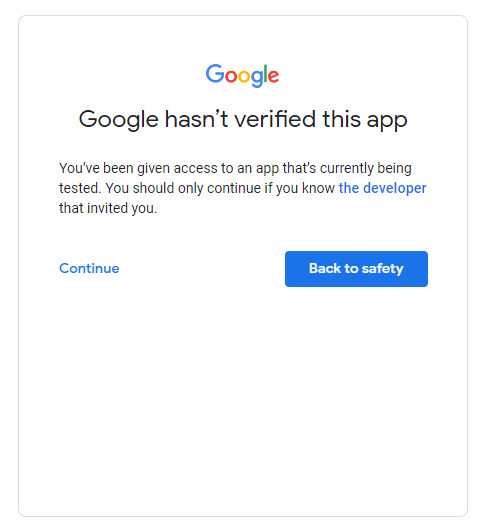
- You may see that warning. That’s fine, because we are just using Test mode. You can fix this by clicking Publish (in step 5), but it isn’t neccessary. Now you can “Continue”
